Text to Speech (Basic Mode | Advanced Mode) (Help)
Basic Mode
Text to speech allows you to type something and have the cloud automatically read it.
Step 1
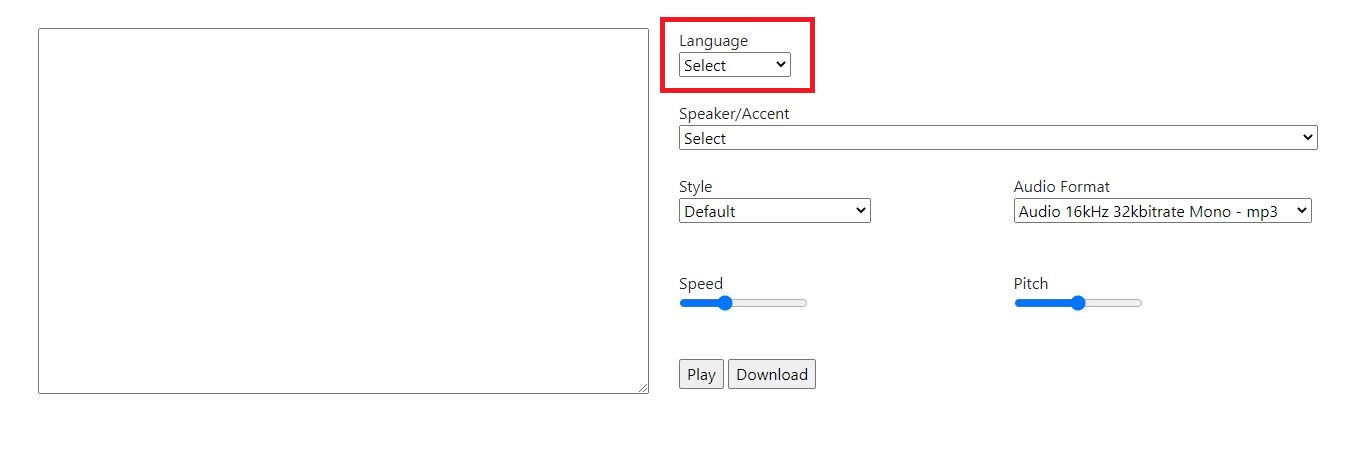
Choose the language that you want. The available languages are
- English
- French
- German
- Spanish
- Chinese
- Afrikaans
- Amharic
- Arabic
- Bangla
- Bengali
- Bulgarian
- Burmese
- Catalan
- Croatian
- Czech
- Danish
- Dutch
- Estonian
- Filipino
- Galician
- Greek
- Gujarati
- Hebrew
- Hindi
- Hungarian
- Icelandic
- Indonesian
- Irish
- Italian
- Japanese
- Javanese
- Kannada
- Kasakh
- Khmer
- Korean
- Lao
- Lithuanian
- Latvian
- Macedonian
- Malayalam
- Malay
- Maltese
- Norwegian
- Pashto
- Persian
- Polish
- Portugese
- Romanian
- Russian
- Serbian
- Sinhala
- Slovak
- Solvenian
- Somali
- Sundabese
- Swedish
- Swahili
- Tamil
- Telugu
- Thai
- Turkish
- Ukranian
- Urdu
- Uzbek
- Vietnamese
- Welsh
- Zulu
Step 2
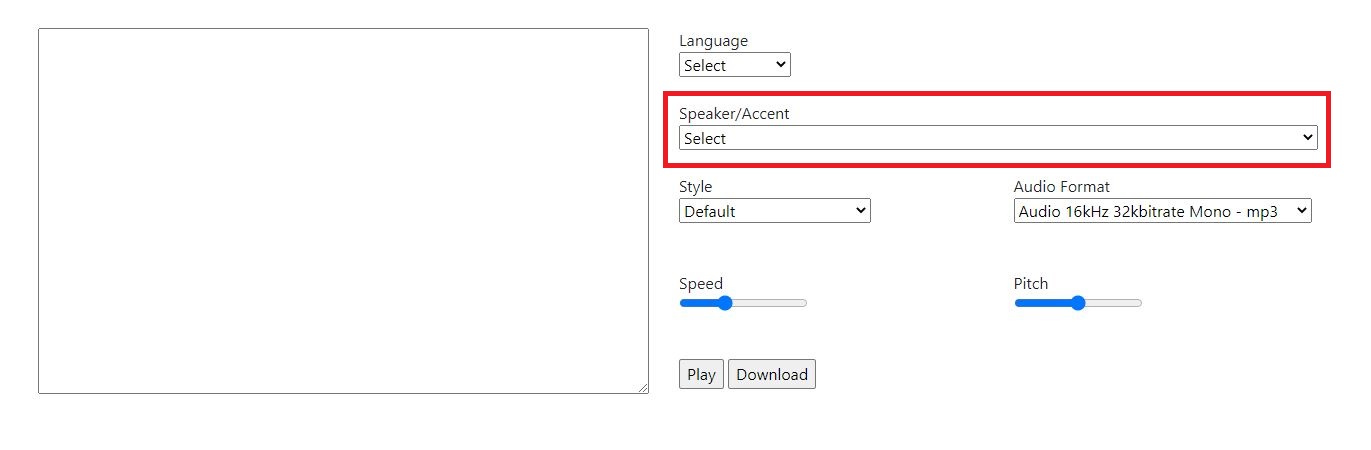
The Speaker drop down menu will populate with the voices of the speakers for the language that you selected. Each speaker is identified by the language that they speak, their accent, whether they are male or female, and their name both in English and their native language.
For example, in Arabic, we have speakers with Bahraini, Algerian, Egyptian, Iraqi, Kuwaiti, Libyan, Moroccon, Saudi, Syrian, Tunisian, and Yemeni accents. In English, we have speakers with American, Australian, Canadian, British, Hong Kong, Irish, Indian, Kenyan, Nigerian, New Zelandish, Filipino, Singaporian, Tanzanian, and South African accents.
Choose a speaker with the accent that you want.
If the speaker has an asterix (*) next to their name, then they have style options. Only a few English and Chinese speakers have style options.
Step 3
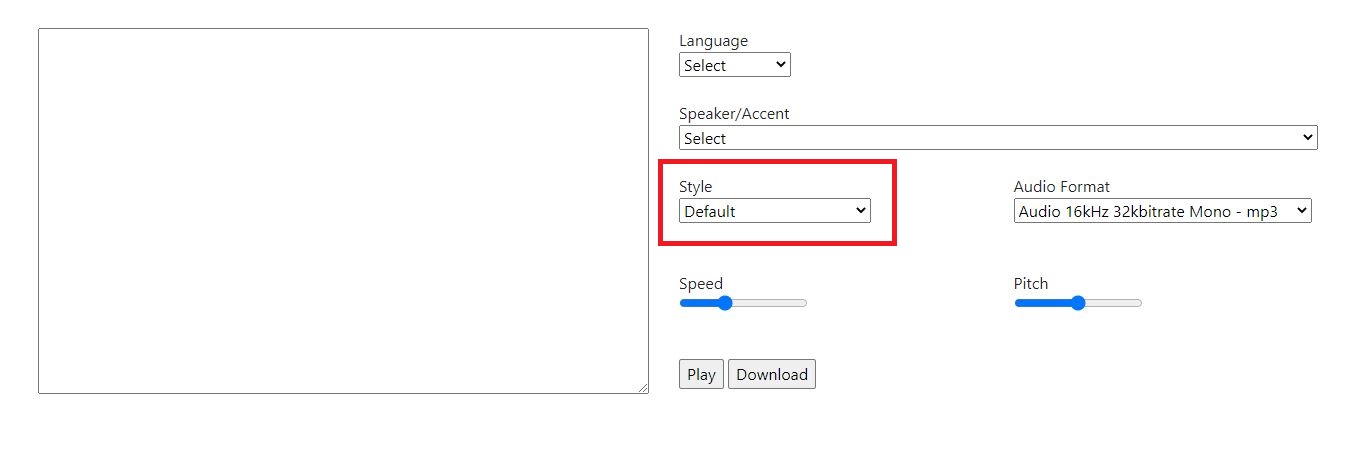
If the speaker has speaking style options, then you can choose a Style option from the Style drop down. The available styles are
- Affectionate
- Angry
- Assistant
- Calm
- Chat
- Cheerful
- Customer Service
- Depressed
- Embarrassed
- Empathetic
- Envious
- Excited
- Fearful
- Friendly
- Gentle
- Hopeful
- Lyrical
- Narration - Relaxed
- Narration - Professional
- Newscast
- Newscast - Casual
- Newscast - Formal
- Sad
- Serious
- Shouting
- Terrified
- Unfriendly
- Whispering
Step 4
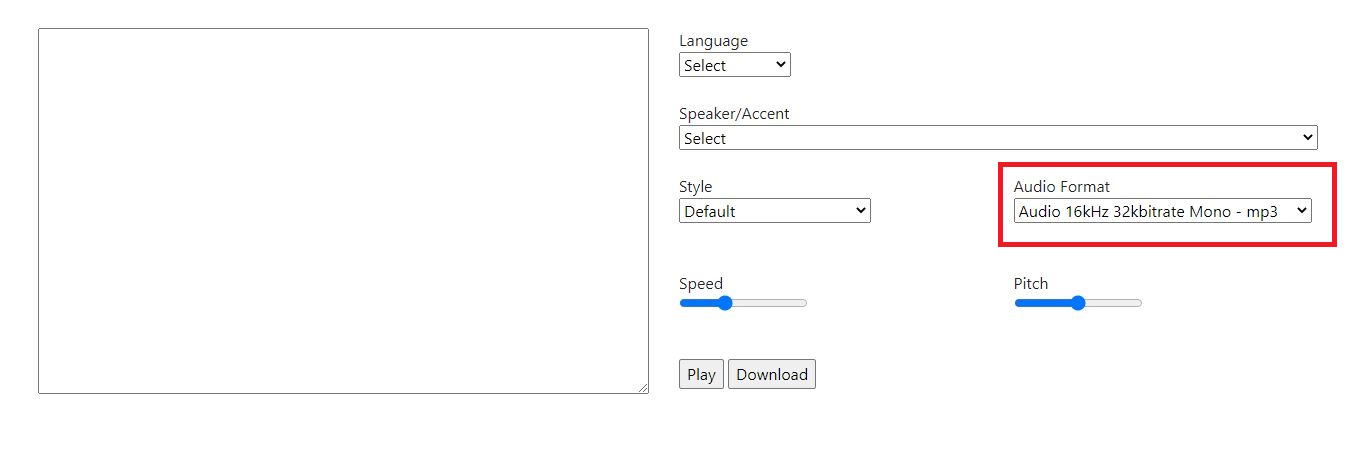
Choose an audio format. We have different audio formats that vary with respect to the following
- Audio Format We can choose Raw, RIFF, Audio, WEBM, or OGG.
- Sample Rate Ranges from 8 kHz to 48 kHz. The sample rate is the number of times per second we take from a discrete analog audio signal to generate the digital signal. Real sound waves are continuous and analog, but digital sound waves are not continuous. The more samples per second, the higher the quality.
- Bitrate The bit rate is the quality of the digital file.
- Mono Mono tells us whether the audio has one channel or two channels. Two channels means that the audio is stereo. Currently, the app only supports mono.
- File Format Choose a file format - either MP3, Truesilk, PCM, MLAW, ALAW, or Opus. MP3 files are strongly recommended.
The default format is 48kHz, 192 bit rate, MP3. If you are playing the audio in the browser, this is the audio format that you will hear. If you are downloading the audio, you may choose a different format, but MP3 is recommended. You may not have the software to play back another format or file extension.
Step 5
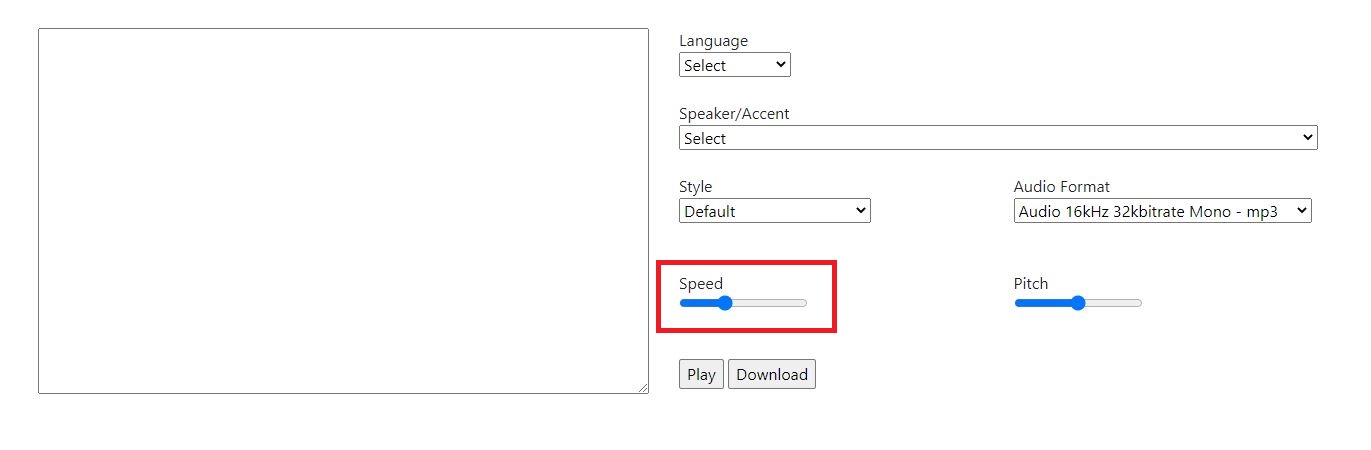
Choose a speed. The default speed is good enough but you can go up to twice as fast or twice as slow.
Step 6
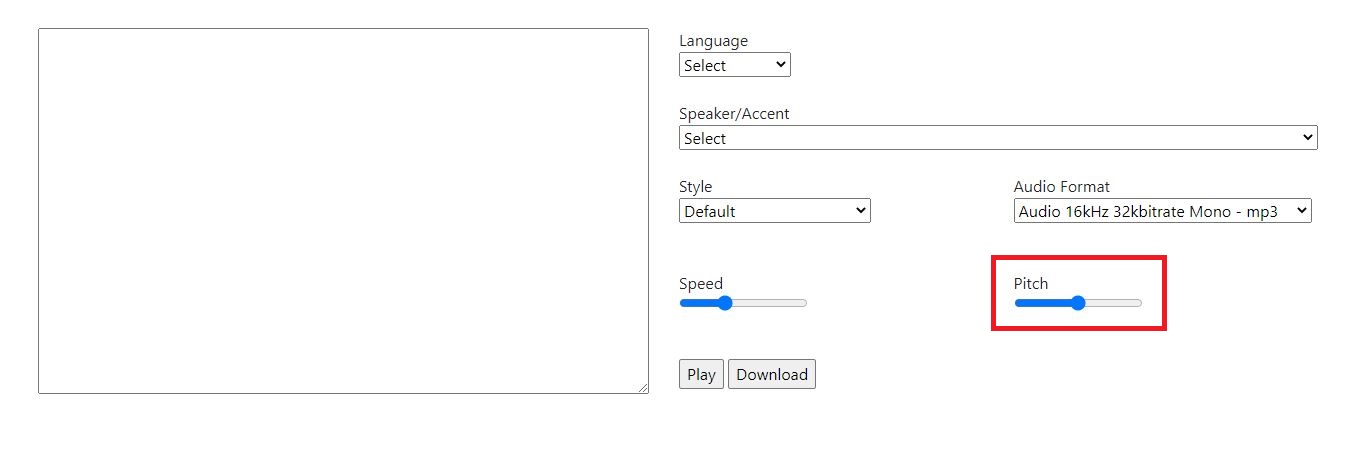
Choose a pitch. The default pitch is good enough but you can increase or decrease it.
Step 7
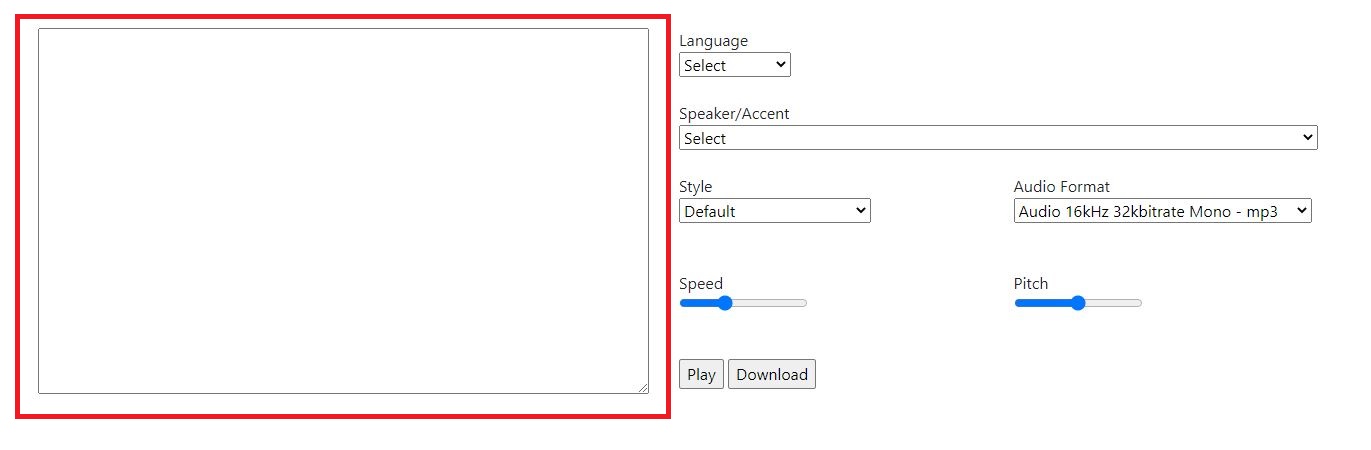
Enter the text that you want to play.
Step 8
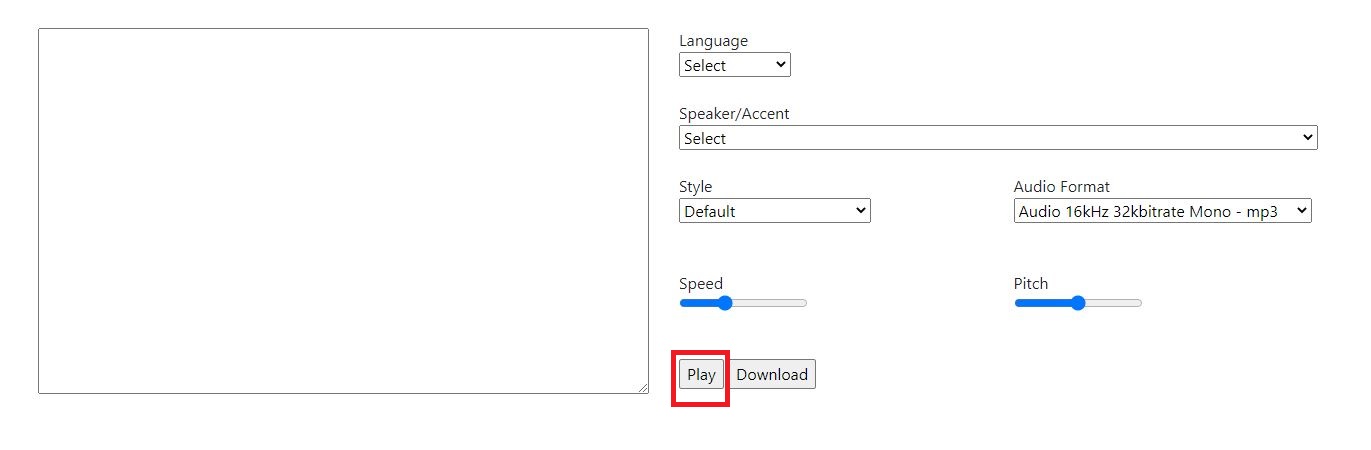
Press play to play the audio. If you entered a lot of text, the Play button will change to say "Processing". Please be patient as longer texts take time to turn into audio. When the audio is playing, the Play button will change to say "Pause". You can press the Pause button to stop the audio.
Step 8
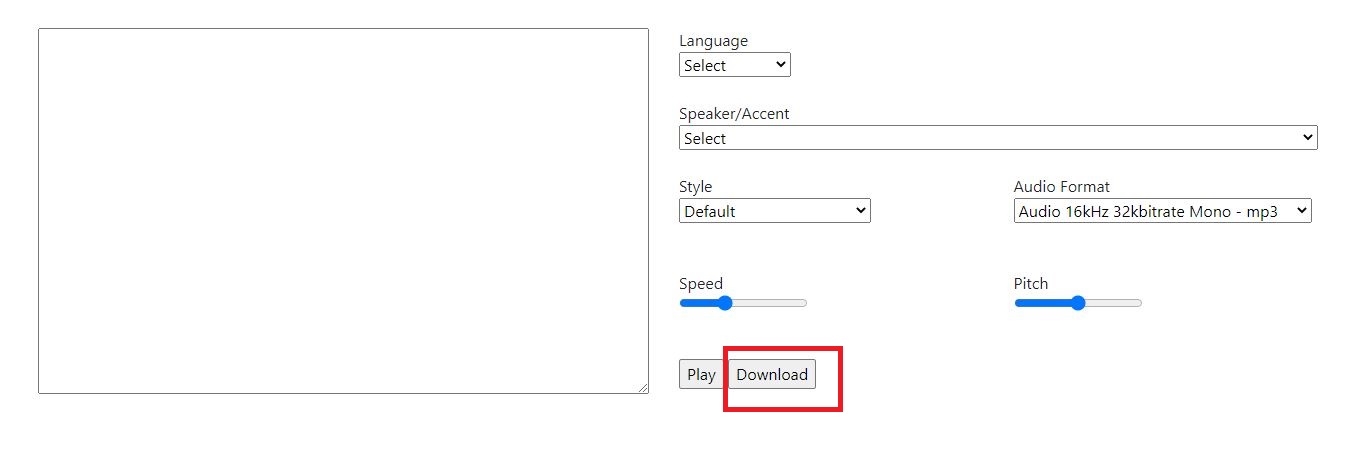
Press download to download the audio. If you entered a lot of text, the Download button will change to say "Processing". Please be patient as longer texts take time to turn into audio.
Advanced Mode
Advanced mode uses SSML (Speech Synthesis Markup Language). The default framework is there but you must type in the text and the markup. The advantages of the advanced mode is that you can have different speakers, emotions, speeds, and pitchs within the same audio file.
Step 1
You must write out the following tags at the start end end of your script
Step 2
Put the name of the speaker within the voicearea text. Nest this tag within the above tag. See this table for a list of speakers and their code names.
Step 3
Put the style tag if the speaker has a style and you want to use it. Nest this tag within the above tag.
Step 4
Put the prosody tag if you want to change the default speed (rate) or pitch. You can use positive or negative percentages for each. Nest this tag within the above tag.
Step 5
If you did this correctly, your text will look something like this.